The Brickman's Blog

Welcome to my Blog! PLEASE feel free to leave comments, or just say "hello"! If you'd like to include your name/nickname in your comments, simply click on "other"...but if you prefer to remain anonymous, that's OK too! CULINARY CONSULTING CODE: 10-10-2000

Monday, June 27, 2005

...and now, the results


Hi everyone!

Last night, as you know, I proceeded to smoke (for the first time) on my new Brinkmann Smoker. I marinated a 2-pound bottom round beef roast for several hours (refrigerated). Afterward, I discarded the marinate, rubbed the roast with my Rub Mix, and allowed it to sit at room temperature until the smoker warmed up (about 30 minutes).

I used charcoal as my main source of heat (about 3 or 4 pounds, I guess; the smoker will hold up to 10 pounds). When the coals were all covered with grey ash, I threw on a few lumps of pre-soaked mesquite. I allowed the wood lumps to begin smoldering, while attaching and filling the water pan; then I put the cooking grill in place.

After a quick spray of non-stick on the grill, I placed the roast onto the grill (probe thermometer in place), put the cover on, and did my best to forget about it for a couple of hours. With the exception of a couple of "peeks" to check the fire or the water level, I just left the roast to smoke slowly.

It took longer than I'd planned--close to four hours! But the thermometer temperature finally read about 145-150 degrees. I knew I'd want to pull the roast out of the smoker, and let it rest for a little while (15-20 minutes) before cutting into it.

The roast came out delicious...a nice, reddish smoke ring, about a quarter-inch wide, was present throughout the roast. The meat is exceptionally tender and flavorful, but the flavor of the marinate doesn't overpower the flavor of the meat; rather, it enhances it. If I could change one thing, I'd remove the roast from the smoker when the internal temperature reached 140 degrees. The meat continues to cook even after it's removed from the heat source, and I would have preferred the roast to be rare to medium-rare (what I ended up with was medium to medium-well....not objectionable, by any means). But this is merely the first of many smoke-cooking ventures!

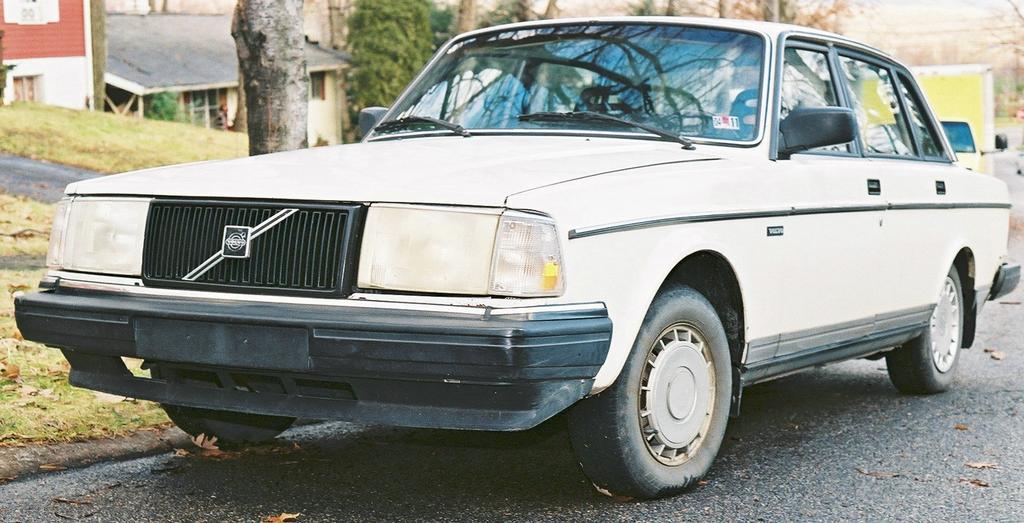
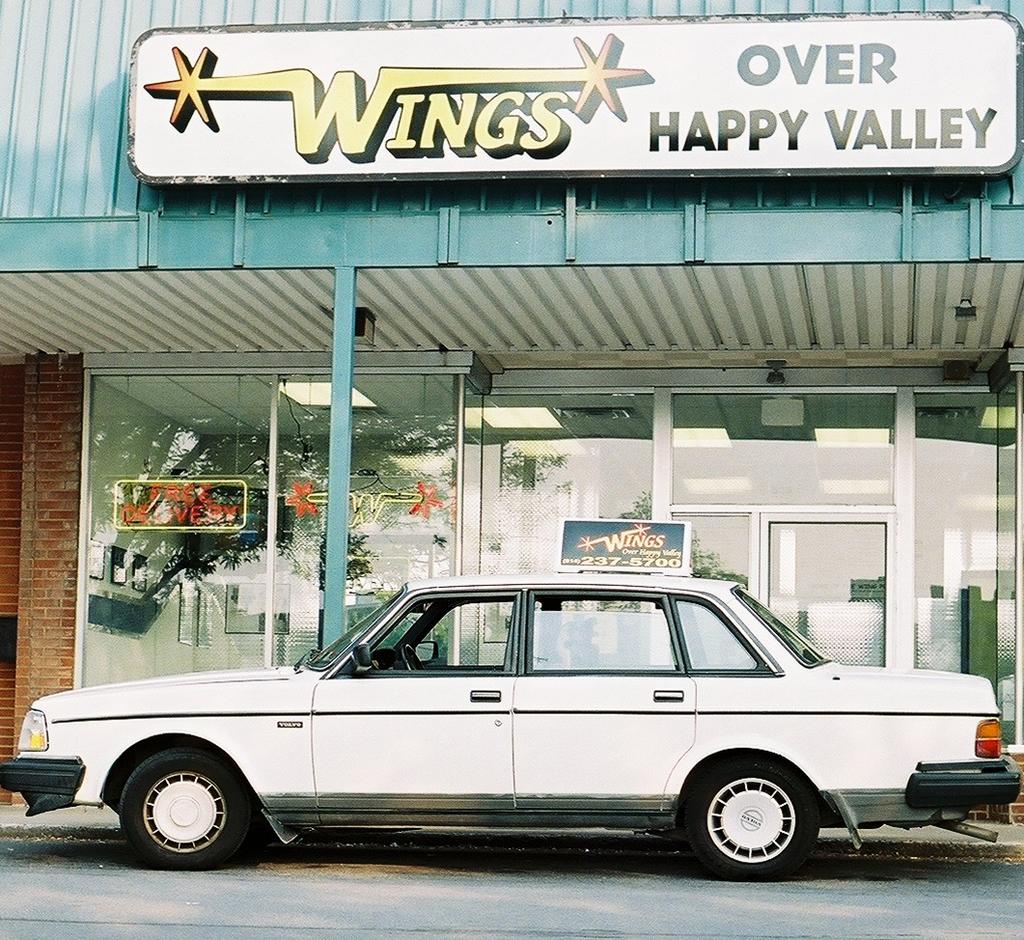
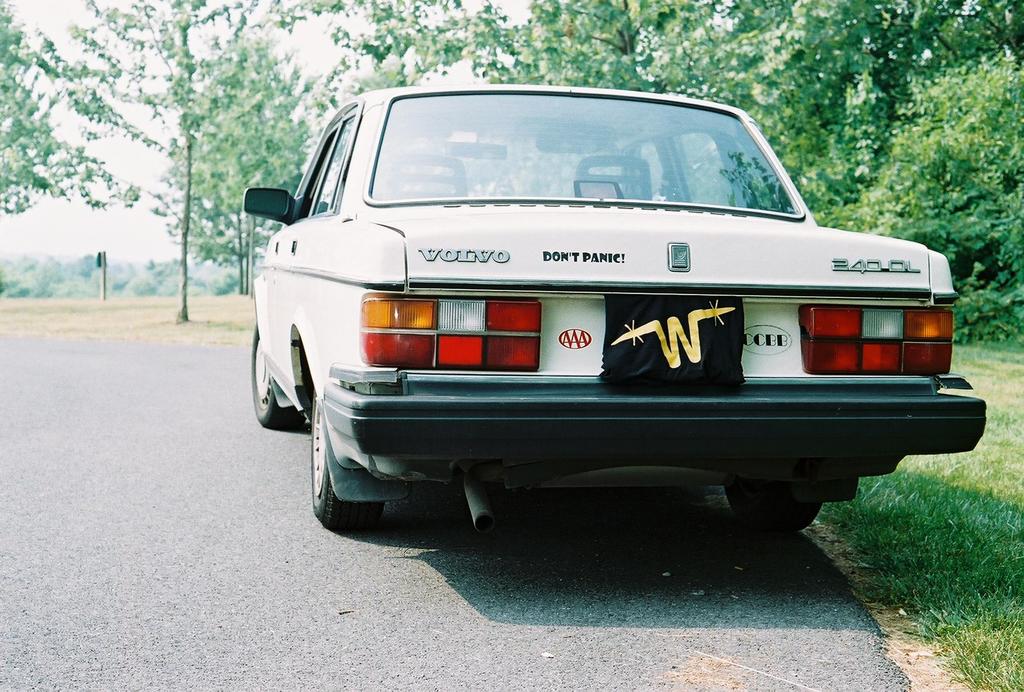
More to come! (and by the way...that's my car!)

Saturday, June 25, 2005

sssssmokin'!!

Hi everybody!

This morning, I got up extra-early to do a bit of Garage-Sailing ('tis the season!). To make a long story short: I am now the proud owner of a Brinkmann Smoke'n'Grill charcoal smoker.

The nice lady running the yard sale saw that I was interested in the smoker; I took the lid off, pulled out the grates, etc. The hand-written price tag said "$20". She told me that if I liked it, I could have it for $5. I immediately handed over a $5 bill, and said "I'll be right back...just gotta go get my car!"

The smoker is in fine shape (it did require a little cleaning--it had been stored in a garage or a basement for about a year), and all the instructions/literature came along with it. I took it with me to the restaurant, and I used our industrial dishwasher to clean up the "internal" parts.

Tomorrow night, weather permitting, I'll fire it up for the first time. I can use charcoal, wood, or a combination of the two, so it looks as though I have some learning to do. I already have lots of smoking wood (lumps and chips) on hand, but I'll have to buy a bag of charcoal.

I already have a few really delicious recipes for various smoked dishes (beef, chicken, several types of seafood, and my favorite: pork!). I've tried them on my regular gas grill, which I've set up as a smoker (indirect heat and a smoke box), and I've had some very good results. I can't wait to try them out on an actual smoker!

I'll be posting some recipes--they're actually quite easy, but they tend to take a long time--tomorrow.

Have a great weekend!

Wednesday, June 22, 2005

10 Commandments of Grilling

Hi everyone!
Now that we're all out there, grilling at least a couple of times a week (we ARE, aren't we?), I thought I'd share this wisdom (and web-link) with you:


The Ten Commandments of Perfect Grilling
by Steven Raichlen

1. BE ORGANIZED. Have everything you need for grilling - the food, marinade, basting sauce, seasonings and equipment - on hand and at grillside before you start grilling.
2. GAUGE YOUR FUEL. There's nothing worse than running out of charcoal or gas in the middle of grilling. When using charcoal, light enough to form a bed of glowing coals 3 inches larger on all sides than the surface area of the food you're planning to cook. (A 22 1/2-inch grill needs one chimney's worth of coals.) When cooking on a gas grill, make sure the tank is at least one-third full.
3. PREHEAT THE GRILL TO THE RIGHT TEMPERATURE. Remember: Grilling is a high heat cooking method, in order to achieve the seared crust, charcoal flavor and handsome grill marks associated with masterpiece grillmanship, you must cook over a high heat. How high? At least 500 degrees F. Although I detail this elsewhere, it is worth repeating: When using charcoal, let it burn until it is covered with a thin coat of gray ash. Hold your hand about 6 inches above the grate. After 3 seconds, the force of the heat should force you to snatch your hand away. When using a gas grill, preheat to high (at least 500 degrees F.); this takes 10 to 15 minutes. When indirect grilling, preheat the grill to 350 F degrees.
4. KEEP IT CLEAN. There's nothing less appetizing than grilling on dirty old burnt bits of food stuck to the grate. Besides, the food will stick to a dirty grate. Clean the grate twice: once after you've preheated the grill and again when you've finished cooking. The first cleaning will remove any bits of food you may have missed after your last grilling session. Use the edge of a metal spatula to scrape off large bits of food, a stiff wire brush to finish scrubbing the grate.
5. KEEP IT LUBRICATED. Oil the grate just before placing the food on top, if necessary (some foods don't require that the grates be oiled). Spray it with oil (away from the flame), use a folded paper towel soaked in oil, or rub it with a piece of fatty bacon, beef fat or chicken skin.
6. TURN, DON'T STAB. The proper way to turn meat on a grill is with tongs or a spatula. Never stab the meat with a carving fork - unless you want to drain the flavor-rich juices onto the coals.
7. KNOW WHEN TO BASTE. Oil-and-vinegar, citrus, and yogurt based bastes and marinades can be brushed on the meat throughout the cooking time. (If you baste with a marinade that you used for raw meat or seafood, do not apply it during the last 3 minutes of cooking.) When using a sugar-based barbecue sauce, apply it towards the end of the cooking time. The sugar in these sauces burns easily and should not be exposed to prolonged heat.
8. KEEP IT COVERED. When cooking larger cuts of meat and poultry, such as a whole chicken, leg of lamb or prime rib, use the indirect method of grilling or barbecuing. Keep the grill tightly covered and resist the temptation to peek. Every time you lift the lid, you add 5 to 10 minutes to the cooking time.
9. GIVE IT A REST. Beef, steak, chicken - almost anything you grill - will taste better if you let it stand on the cutting board for a few minutes before serving. This allows the meat juices, which have been driven to the center of a roast or steak by the searing heat, to return to the surface. The result is a juicier, tastier piece of meat.
10. NEVER DESERT YOUR POST. Grilling is an easy cooking method, but it demands constant attention. Once you put something on the grill (especially when using the direct method), stay with it until it's cooked. This is not the time to answer the phone, make the salad dressing or mix up a batch of your famous mojitos. Above all, have fun. Remember that grilling isn't brain surgery. And that's the gospel!


I actually have a printed-out copy of this attached (with a combination magnet/bottle opener) to my fridge. It's mostly common-sense stuff, but if you follow these 10 simple rules EVERY time you light the grill, you'll have consistent, perfect results.
Check out Steven's website-- http://www.barbecuebible.com --it's loaded with more tips, recipes, and lots of fun stuff.

Enjoy!
John


http://209.245.59.98/Gimme/65832736/1596104124/66154389/30162D80-9727-4B47-AF98-254488B3D427/0.404643/2/grill_rules.doc

Monday, June 20, 2005

Pasta Fa Zool

Hello again!
I couldn't decide on anything to write about yesterday, so I sort of took a break from the Blog. But I'm back today, and I have an old, favorite recipe to share.
My grandmother used to make "Pasta Fa Zool", as we pronounced it, frequently when I was a kid. As I recall, it was a very simple dish of pasta, white beans, and a very light tomato sauce. I'd dump large heaps of freshly-grated Parmesan cheese on top.
This recipe is more of a meal than a side-dish. In addition, it can be made vegetarian by omitting the pork ribs, and by using vegetable stock instead of beef or chicken.

Pasta e Fagioli con Carne (Pasta and Bean Soup with Meat)
1 cup dried white beans, such as Great Northern
1/4 olive oil
4 individual pork spareribs (about 4 oz. each)
1 medium onion, cut into 1/2-inch dice
1 medium rib celery with leaves, thinly sliced
1 medium carrot, peeled and thinly sliced
2 large cloves garlic, minced
1 tsp. finely chopped fresh rosemary (or 1/2 ts. dried, crushed)
1 cup peeled, seeded and chopped fresh tomatoes (or from canned)
Salt and freshly ground pepper, to taste
3/4 cup small pasta, such as elbows
4 cups Broth (beef, chicken or vegetable; or any combination)
Freshly grated Parmesan-Reggiano cheese
1) Pick over beans, discarding any shrunken or discolored ones. Soak the beans overnight in cool water to cover by 2 inches. Drain the beans and place in a medium-size saucepan with water to cover by 3 inches. Bring to a boil over medium-high heat, then reduce heat to a very slow, but steady simmer. Cook, covered, until the beans are tender, about 1-1/2 hours. Drain and set aside.
2) Heat the oil in a large soup pot over medium heat. Add the spareribs, onion, celery, carrot, garlic and rosemary. Saute, uncovered, until the ribs begin to brown, about 10 minutes. Reduce the heat to low and add the tomatoes, salt and pepper. Cook until the liquid in the tomatoes cooks off and the oil and tomatoes begin to separate, 15 to 20 minutes.
3) Meanwhile, prepare the pasta according to package directions.
4) Add the beans and broth to the soup pot. Raise the heat, bring to a boil, then reduce the heat to a very slow but steady simmer. Cover and cook 15 minutes. Drain the pasta and add to the soup, stirring well. Serve with grated cheese.
( NOTE: Can substitute 2-1/2 cups drained and rinsed canned cannellini beans. If so, start with Step 2)

I have never actually prepared this recipe using the canned beans, but I think Grandma might have. They turn out just fine, so go ahead & use them (unless you don't mind the wait).
Enjoy!

Sunday, June 19, 2005

Happy Father's Day, Dad! (try cooking this!)

Hi again everybody!
OK, today went MUCH better than yesterday
On my way home from the restaurant this evening, I stopped by the local supermarket (that's usually what I do after work), and found a great deal on some fresh shrimp. Four bucks a pound for the 31/40 size (the usual price is about $9 per pound). The shrimp aren't big enough to grill (too small to skewer without pulverizing them), but they're great for just about anything else.
I decided on a scampi; I haven't done that in ages.
Now, there are literally HUNDREDS of scampi recipes floating around out there; I'm sure they're all delicious. Some call for grated Parmesan or Romano cheese, while others don't; a few say that you should add onions, but some don't. I even ran across a couple that substituted margarine for butter...I gave those a miss (sorry, all you calorie-counters).
I've tried to adapt what I did into a usable recipe. Usually, when I'm developing flavors and such, I'll write down everything I do, so I can reproduce it later. So, here goes.

Herbed Shrimp Scampi with Fettucine

1 pound fresh shrimp (whatever size you like), peeled & deveined
4 TBS butter, divided
6 ounces broth (I used beef broth; chicken, fish or vegetable broth would work as well)
1 TBS fresh tarragon, whole leaves
1 TBS fresh dill weed, whole sprigs
1/2 cup fresh parsley or cilantro, coarsely chopped, according to taste (I used a combination of the two)
1 TBS fresh lemon juice
1 TBS olive oil
Salt and black pepper to taste
About 6 ounces (roughly half of the box, pre-cooked) of cooked pasta. I used fettucine rigati, but almost anything would work.

Make sure the shrimp have been rinsed and allowed to dry in a colander.
Heat a skillet, medium-high. Melt 2 TBS of the butter, and when it begins to sizzle add the olive oil.
Add the shrimp, tarragon and dill; sautee at med/high for about 4-5 minutes (keep it moving!) until the shrimp turns translucent and pink. Season LIGHTLY with salt and black pepper. When shrimp is done, remove to a plate and keep warm. Remove any large pieces of tarragon & dill; discard. Reserve the juices in the skillet.
In the same skillet, melt the remaining butter; when it's sizzling, add the broth. Reduce heat, as necessary, to slowly simmer the mixture. Allow it to reduce by about one-half.
When reduced, add the lemon juice. Allow the mixture to return to a simmer, then taste for seasoning (adjust as necessary).
Increase heat to medium-high. Add the shrimp to the skillet, and add the pasta (make sure the pasta is well-drained). Allow the mixture to sizzle briefly, tossing or stirring frequently.
Dump the mixture onto a plate, and sprinkle the chopped parsley/cilantro over all. Toss and serve.
(NOTE: the sauce will taste quite "lemony" while cooking, but the fresh herbs added at the end will cut the lemon flavor considerably)

I'm eating this RIGHT NOW...and it's really good!

Sleep tight, everyone!

Saturday, June 18, 2005

Have a chuckle...you know you want to


Hi again everybody!
This has been a HECK of a day; nothing went quite right at the restaurant, and before work I visited a number of local Garage Sales and found ABSOLUTELY NOTHING that I could use. Pretty much a wash-out.
It's getting late, and I'm tired, so I won't be posting a recipe this evening (awww).
I will, however, post a couple of amusing food-related jokes (don't worry--they're family-friendly):

A guy walks into a restaurant, and asks, "do you serve crabs here?"
The waitperson replies, "we serve anybody, sir...have a seat."
***********************************************
A guy (probably a different guy) asks the waitperson, "do you have frog's legs?"
The waitperson replies, "yes."
The guy (again, probably a different guy) says, "well, hop into the kitchen and get me a steak!"
***********************************************
(this one's not really food-related, but it might have been one of those pub/restaurant type places)

A horse walks into a bar.
The bartender asks, "why the long face?"

OK, I think you've had enough.

I'll see you tomorrow. Be well, everyone!

Friday, June 17, 2005

Some Dessert, Monsieur?

Hello everyone!
Sorry I'm a bit late tonight; busy dinner rush at the restaurant. Not to worry, though...I'm going to try (as always) to update this thing every day.
I thought that by now, after all the grilling, everyone would be ready for some dessert. So here's a (non-traditional) recipe for Chocolate Mousse. The egg (only ONE egg!) is not separated, and the white is not whipped. But it's still quite delicious, and the recipe can easily be multiplied to serve all of your guests (the original recipe serves two---how romantic!)

Chocolate Mousse (the Express Route)
6 ounces semisweet chocolate chips
1 large egg
1 teaspoon vanilla extract
1 teaspoon almond extract
1 tablespoon creme de cacao
1 cup whipping cream
In a blender, combine together the chocolate, egg, vanilla, almond extract and Creme de Cacao.
Meanwhile, microwave the cream* (in a glass or plastic bowl, covered with plastic wrap) until just beginning to boil.
With the blender going add the hot cream and blend well.

Pour into small sherbet or wine glasses. Chill for several hours and serve.

(*Naturally, you can heat the cream on the stovetop, if you like; but all you're looking to do is heat it, not scald it. So the microwave is handy if you want one less pot to wash! And in either case, make sure the cream does begin to bubble, so the egg will be heated through. And for the same reason, PLEASE heat the cream just before you're ready to add it to the chocolate/egg mixture. This way, it won't have a chance to cool too much)

There you have it.


(printable version)
http://209.245.59.31/Gimme/65832736/1248983783/67093954/B33581A9-CD08-40D7-9275-24ED694A5EC5/0.465719/2/mousse.doc
Enjoy!

(check out my friend Jessica's great work)
http://viphoto.com/works/index.html

Thursday, June 16, 2005

Featured Portfolio

Hello again everybody!

Instead of talking about food (just this once), I'd like to invite you to look at some of the AWESOME work that my friend has done. Her name is Jessica, and she's a student at Virginia Intermont College. I used to be Jessica's boss, until she left the company to attend college. She's a talented, accomplished photographer, and I'm proud to help show her talents to the world!

Follow this link, and click on the "Featured Portfolio" tab near the top of the page. You'll see Jessica's name.

http://viphoto.com/works/index.html

Wednesday, June 15, 2005

John's Barbecue Sauce


Hello again everybody!

Looks like I goofed. Nothing serious, I just made it so that nobody could leave comments unless they created a Blogger account and signed-in. However, I have now figured out how to allow ANYONE & EVERYONE to leave their comments....so comment away!

Now that that's straightened out, on to the food! Hopefully, by now you've whipped up a batch of my rub/seasoning (I published that yesterday...you'll find it if you look). Today, I'm going to incorporate some of that rub into a home-made barbecue sauce:


John's Barbecue Sauce
1 (one) 8-ounce can "no salt added" tomato sauce
1/2 cup molasses
1/4 cup bourbon (I use Jim Beam Black Label)
1 TBS Sriracha (or any favorite chile sauce)
1 TBS balsamic vinegar*
1-2 TBS honey (depending on your sweet tooth)
1/2 tsp smoke liquid (about a capful)
1 TBS garlic powder
anywhere between 2 tsp-3 TBS John's Barbecue Rub* (depending on how much you like it)
1/2 tsp dried basil
1/2 tsp black pepper
1/4 tsp salt
(*for added "zing", substitute 1 TBS vinegar solution from pickled jalapenos for the balsamic vinegar)
In a small saucepan over medium heat, use a whisk to combine the tomato sauce and molasses. When the molasses has thinned-down a bit, REMOVE THE PAN FROM THE STOVE and add the bourbon. Stir for about 30 seconds, then return the pan to the stove.
Add the remaining ingredients, stirring after each addition. [ Add only 1 TBS of honey to begin with; taste the sauce. If you like it even sweeter, add another TBS. ]
Reduce heat to lowest setting, and allow the mixture to simmer (uncovered) very slowly until the volume is reduced by about half (15-30 minutes...keep checking!).
Yields about 1 cup of sauce.

This stuff is thick, sweet, and oh-so-much better than anything you can buy in a plastic bottle.

*UPDATE 6/23/05: The recipe for John's Barbecue Rub is located in the Archives under the "Grillin' Time" heading. Sorry for not attaching it!


http://209.245.59.33/Gimme/65832736/1344147180/66263858/30162D80-9727-4B47-AF98-254488B3D427/0.435935/2/BBQ_sauce.doc


http://209.245.59.33/Gimme/65832736/1344146965/66263859/30162D80-9727-4B47-AF98-254488B3D427/0.905001/2/rub.doc

Tuesday, June 14, 2005

Grillin' Time!

Hello again, all!

Now that the Summer Grilling Season is well underway, I thought I'd begin sharing some of my favorite barbecue recipes.

First, some clarification: there's a bit of a difference between "grilling" and "barbecue". The words are often interchangeable, but officially, you're grilling if you use high heat for a short period of time. On the other hand, barbecue (also known as "indirect grilling") refers to slower, lower-temperature cooking. So burgers, steaks, hot dogs, etc are grilled, while most larger cuts (like brisket or tri-tip) are barbecued/indirect grilled. Too much heat would burn the outside before the inside has a chance to cook at all!

There are lots and lots of variations---different approaches to similar meats---and I can't possibly address all of them at one time.

But one thing is common to all foods cooked on the grill (and elsewhere): seasoning. This rub recipe can be used for seasoning, too.


John's Barbecue Rub
(note: all ingredients are of the "dried" variety)
2 TBS rosemary leaves
1.5 TBS Kosher salt
1 TBS paprika
2 tsp thyme leaves
2 tsp dark brown sugar
1 tsp ground black pepper*
1 tsp ground white pepper*
3/4 tsp celery seed
(* the amount of black/white pepper can be adjusted upward, to suit your taste)
Using a mortar & pestle (an electric spice mill will work, too), grind the rosemary leaves and the thyme together with the salt (the salt will aid in the grinding of the herbs). When the mixture resembles fine sand, add the remaining ingredients and continue to grind, to incorporate. There will be a few larger bits of rosemary leaves...this is a good thing!
This recipe produces enough rub to cover 3-6 pounds of meat (depending on how heavy-handed you are). Any leftover amount can be stored indefinitely (covered container) in the fridge.
Originally intended as a rub for pork, but this stuff can be used on chicken or salmon with great results.

Monday, June 13, 2005

What if the Hokey-Pokey IS what it's all about?

Hi again all. A little background info for those of us just getting started:
I'm using this blog as sort of a launching pad for sharing and distributing information. I read someplace that that's what blogs are for.
Specifically, I'm going to be posting (and I hope you'll be posting, too) some of my favorite recipes, which can then be shared by hungry people world-wide.
To start things off, here's one of my favorite all-purpose sauces.


Roasted Garlic Mustard Sauce with Dill
2 tablespoons unsalted butter
2 tablespoons mustard (any kind that's not "grainy")
2 tablespoons mashed, roasted garlic*
3/4 ounce (about 1 generous tablespoon) cream cheese
6-8 tablespoons light cream (adjust for consistency)
1/2 teaspoon dry dill weed OR 2 teaspoons fresh chopped dill weed
1/4 teaspoon red chile powder
1 teaspoon Sriracha sauce (optional)
salt & pepper to taste
In a small saucepan, melt the butter over medium heat, then add mustard. Whisk until smooth. Add garlic and cream cheese; continue to whisk (mixture will be quite thick). Lower heat to medium/low, and add light cream, one tablespoon at a time, while continuing to whisk (sauce will thicken upon standing, so it's recommended that you add 1 more tablespoon of cream than you think you need). When desired thickness is achieved, remove pan from heat; whisk in remaining ingredients.
Drizzle over corned beef, pierogies, asparagus, etc. Also works well with baked or grilled fish. Makes about 4 servings.

*the recipe for Roasted Garlic is attached


(and here's a recipe for Roasted Garlic...but you can use your own, or even store-bought, if you like)


Roasted Garlic
4 medium-sized "heads" of garlic
About 2 tablespoons olive oil
Preheat oven to 400 F
"Decapitate" the garlic heads by turning them on their sides & slicing down through the centers. Arrange the garlic pieces, with the cut sides facing up, on a large sheet of aluminum foil. Drizzle the olive oil generously over the garlic, then fold the aluminum foil into a "packet", to trap moisture inside (try to allow some air space between the foil and the tops of the garlic pieces).
Bake at 400 F for about 45-50 minutes (right on the oven rack...no need for a pan or sheet). When done, remove the foil packet from the oven, and allow it to cool WITHOUT OPENING IT for at least 20 minutes. After it has cooled, unfold foil, and remove as much loose skin from the garlic as you can. Squeeze the cooked garlic out of the skin, into a bowl, taking care not to allow any skin into the bowl, only the garlic "meat". When this is complete, mash the garlic with a fork, until it's a uniform paste.
Store in a small, airtight container; it will keep in the refrigerator for several days. 4 heads of garlic yields about 1 cup of finished product.